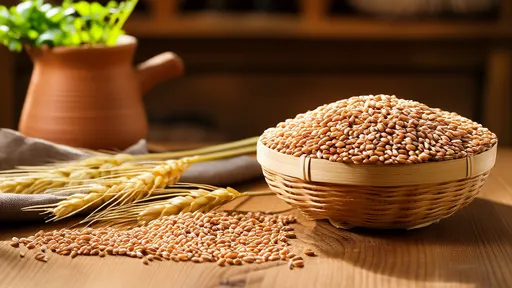
Quinoa has surged in popularity over the past decade, lauded for its impressive nutritional profile and versatility in the kitchen. Yet, despite its widespread adoption, many home cooks still grapple with the fundamentals of preparing it correctly. The questions linger—should you rinse it? How long does it actually take to cook? And perhaps most puzzling of all, how do you tackle that occasional bitter undertone? Getting these details right transforms quinoa from a sometimes-gritty, occasionally bitter side dish into a fluffy, delicate base worthy of any meal.
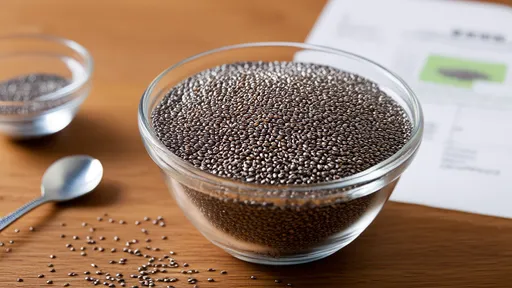
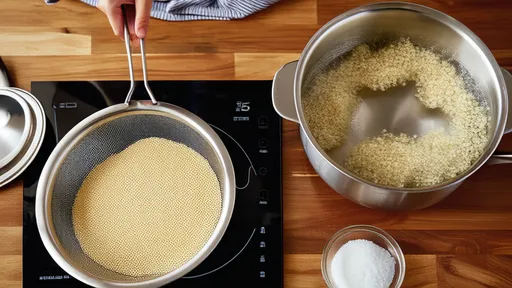
Let’s start with the first point of contention: to rinse or not to rinse? If you’ve ever skipped rinsing quinoa and ended up with a slightly soapy or bitter taste, you’ve encountered saponin—a natural compound that coats the seeds. This bitter-tasting substance acts as a natural pesticide, protecting the plant from birds and insects. While most commercially available quinoa is pre-rinsed to remove the majority of saponins, traces often remain. That’s why thorough rinsing is non-negotiable for achieving a clean, neutral flavor. Place the quinoa in a fine-mesh strainer and run cold water over it, using your fingers to gently agitate the seeds. Continue until the water runs clear. This simple step is the difference between great quinoa and regret.
Some argue that toasting quinoa before cooking can enhance its nutty aroma and reduce bitterness. This is an optional but recommended step, especially if you enjoy a deeper, more robust flavor. After rinsing and draining the quinoa thoroughly, transfer it to a dry saucepan over medium heat. Stir constantly for a few minutes until the grains are dry and emit a pleasant, toasty fragrance. Be careful not to burn it—toasting should be gentle and brief. This process not only amplifies flavor but can help ensure a fluffier end result by parching the outer layer of the seed.
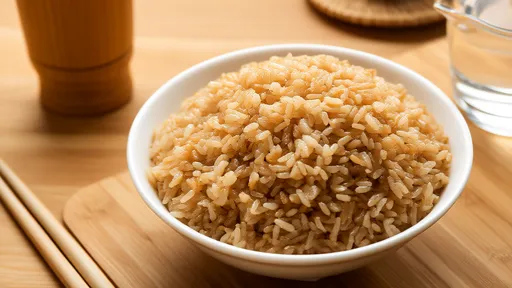
Cooking quinoa is straightforward, but the ratio of water to quinoa and the cooking time are crucial. A common guideline is to use two cups of water or broth for every one cup of quinoa. Combine the liquid and quinoa in a pot, bring it to a boil, then reduce the heat to low and cover. Let it simmer for about 15 minutes. You’ll know it’s done when the grains are translucent, and the white germ has partially separated, forming a little spiral. Avoid the temptation to lift the lid frequently during cooking—quinoa, like rice, benefits from uninterrupted steaming.
Once the cooking time is up, remove the pot from the heat but leave the lid on. Let it sit for another 5 to 10 minutes. This resting period is essential. It allows the quinoa to absorb any remaining moisture and firm up, resulting in a light, fluffy texture. After resting, fluff the quinoa gently with a fork to separate the grains. If you skip this step, you might end up with a clumpy or wet consistency.
But what if you’ve rinsed, toasted, cooked, and rested—and still detect a hint of bitterness? First, don’t despair. Bitterness can stem from varietal differences or residual saponins. One effective way to counteract this is to cook quinoa in vegetable or chicken broth instead of water. The savory notes of the broth can mask any mild bitterness. Adding a pinch of salt during cooking also helps balance flavors. For a more aromatic approach, try cooking with a bay leaf or a crushed clove of garlic, which will impart subtle depth that overshadows any unwanted tastes.
Another technique involves a quick soak before cooking. After rinsing, cover the quinoa with water and let it sit for 15–30 minutes. Drain it well, then proceed to toast or cook as usual. Soaking can help loosen and wash away saponins that are particularly stubborn. Some chefs even recommend a quick blanching—boiling the quinoa for a few minutes, draining, and then continuing with the standard cooking method. It might sound like extra work, but if bitterness has been a persistent issue, it’s a game-changer.
Storing cooked quinoa properly is also key to maintaining its quality. Let it cool completely before transferring it to an airtight container. It will keep in the refrigerator for up to a week, making it a fantastic make-ahead ingredient for salads, bowls, or quick sides. You can also freeze cooked quinoa for up to two months. Spread it in a thin layer on a baking sheet to freeze initially, then transfer to a freezer bag. This prevents it from freezing into a solid block, so you can easily scoop out portions as needed.
Experimenting with quinoa opens up a world of culinary possibilities. Its mild flavor makes it an excellent canvas for spices, herbs, and dressings. Try cooking it in coconut milk for a tropical twist, or stir in fresh lemon juice and herbs after cooking for a bright, refreshing side. It’s also fantastic in breakfast porridges, veggie burgers, and even desserts. Understanding the basics of preparation empowers you to use quinoa confidently across all kinds of dishes.
In the end, mastering quinoa comes down to respecting its natural characteristics. That bitter coating? It’s there for a reason. The need for a good rinse? Non-negotiable. The precise cooking and resting times? They matter. When treated with care, quinoa rewards you with a tender, versatile grain that’s as nutritious as it is delicious. So don’t be intimidated—embrace the process. With these tips in hand, you’re well on your way to perfect quinoa, every single time.
By /Sep 9, 2025
By /Sep 9, 2025
By /Sep 9, 2025
By /Sep 9, 2025
By /Sep 9, 2025

By /Sep 9, 2025
By /Sep 9, 2025
By /Sep 9, 2025
By /Sep 9, 2025
By /Sep 9, 2025
By /Sep 9, 2025
By /Sep 9, 2025
By /Sep 9, 2025
By /Sep 9, 2025
By /Sep 9, 2025
By /Sep 9, 2025

By /Sep 9, 2025
By /Sep 9, 2025
By /Sep 9, 2025
By /Sep 9, 2025